easy peasy easter salt dough decorations
Some links in this post may be affiliate links. If you make a purchase through them I may receive a small commission at no cost to you.
With Easter just around the corner, I decided it was time to decorate the house. This was an easy way to break up the monotony of being home all the time and also a nice opportunity to splash some cheerful pastel colours around the place.
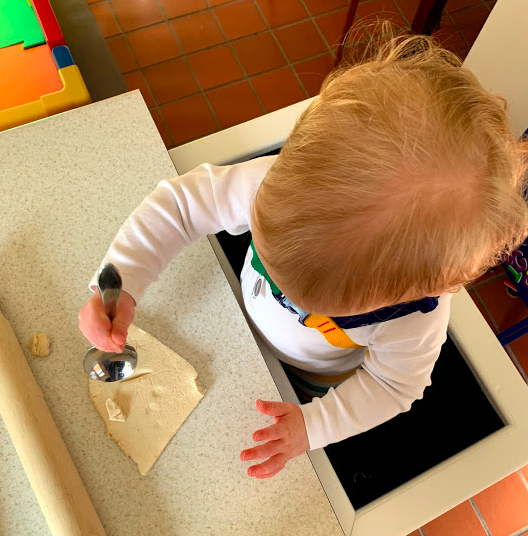
I have never made salt dough decorations before so I was a bit dubious about how they would turn out, but I have been pleasantly surprised by how easy these were to make. Salt dough will definitely become a regular go to for seasonal ornaments with Osk as they are cheap, super easy and safe to make with a toddler that likes to taste everything.
They also provide two separate craft activities; we made the dough and baked it on the first day, then spent some time painting the ornaments the next day. That is a LOT of occupied toddler time with just some flour and salt!

What you need to make salt dough ornaments
Table salt (1/2 cup)
Flour (1 cup)
Water (1 cup)
Baking parchment
Baking tray
How to make the salt dough
Step 1 - prepare
Set your oven to its lowest temperature setting.
Measure your ingredients.
Cover a baking tray with baking parchment.

you just need flour, salt and water for salt dough
Step 2 - make the dough
Mix 1 cup of flour with ½ cup table salt.
Add the water and stir until the dough comes together in a ball.
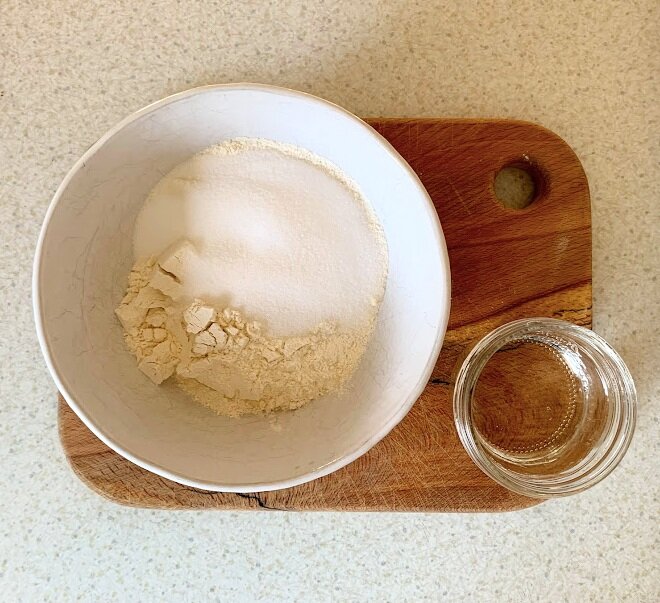
mix 1 cup of flour with ½ cup table salt

add the water and stir until the dough comes together in a ball
Step 3 knead the dough
Knead the ball of dough a few times to make sure all the ingredients are fully combined and turn out onto a lightly dusted surface or onto some baking parchment.

the ball of salt dough almost ready to be rolled out
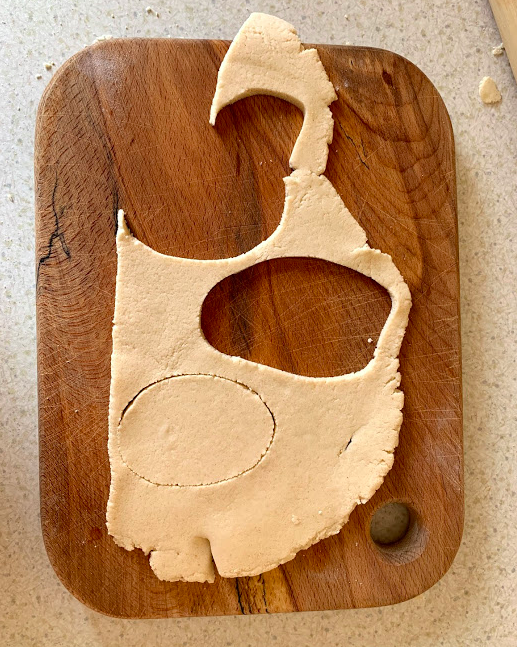
Step 4 roll out and shape the dough
This is the fun bit! Roll out the dough to about 1cm thick. Shape it into ornaments with shape cutters or using a knife. (I didn’t have an egg shaped cutter so just used a sharp knife to cut egg shapes free handed.) If you plan to hang the ornaments, make sure to pop a hole in them before baking.
Step 5 bake the dough
Transfer the shapes to a baking tray lined with baking parchment and bake in the oven until hard and dry (this took about 3 hrs for us).

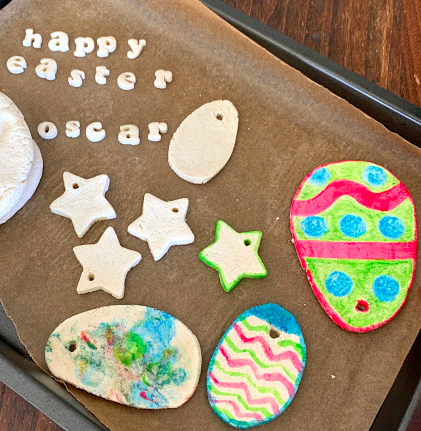
salt dough ready to go in the oven!
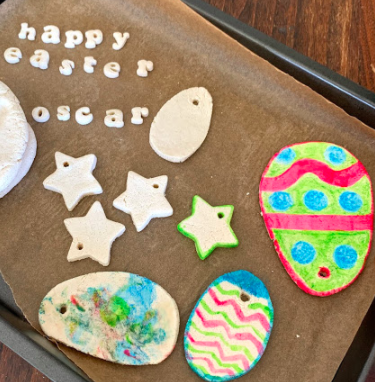
Step 6 decorate the ornaments
We waited until the next day to decorate our ornaments, this gave us a separate second activity (woohoo - mum win!)
Osk is only 16 months, so we used regular kid friendly paint to decorate our ornaments. If you have older kids (who don’t eat all the paint) you could use acrylic paint for this.
Thread some ribbon or string through the holes and hang them up for everyone (or maybe just you at the moment) to see!

Tips
Ideally this is a two day craft, make and bake on day, then decorate on day two.
Painting the decorations with white paint all over before using coloured paints will give a much fancier final product.
Did you do this craft? I’d love to see the results, go ahead and share your photos with me on Instagram!
Happy Easter!


Themumproject.ie is a participant in the Amazon Services LLC Associates Program, an affiliate advertising program designed to provide a means for sites to earn advertising fees by advertising and linking to amazon.com and affiliate sites.